Creating an Interactive Map on a Website: Easy Start with JavaScript
Modern websites went beyond static pages a long time ago. We are used to interactivity, convenience, and one-click accessibility to information. One of the most popular elements on websites today are interactive maps. Due to them users can find the right locations, create routes, track movements and even interact with other people in real time.
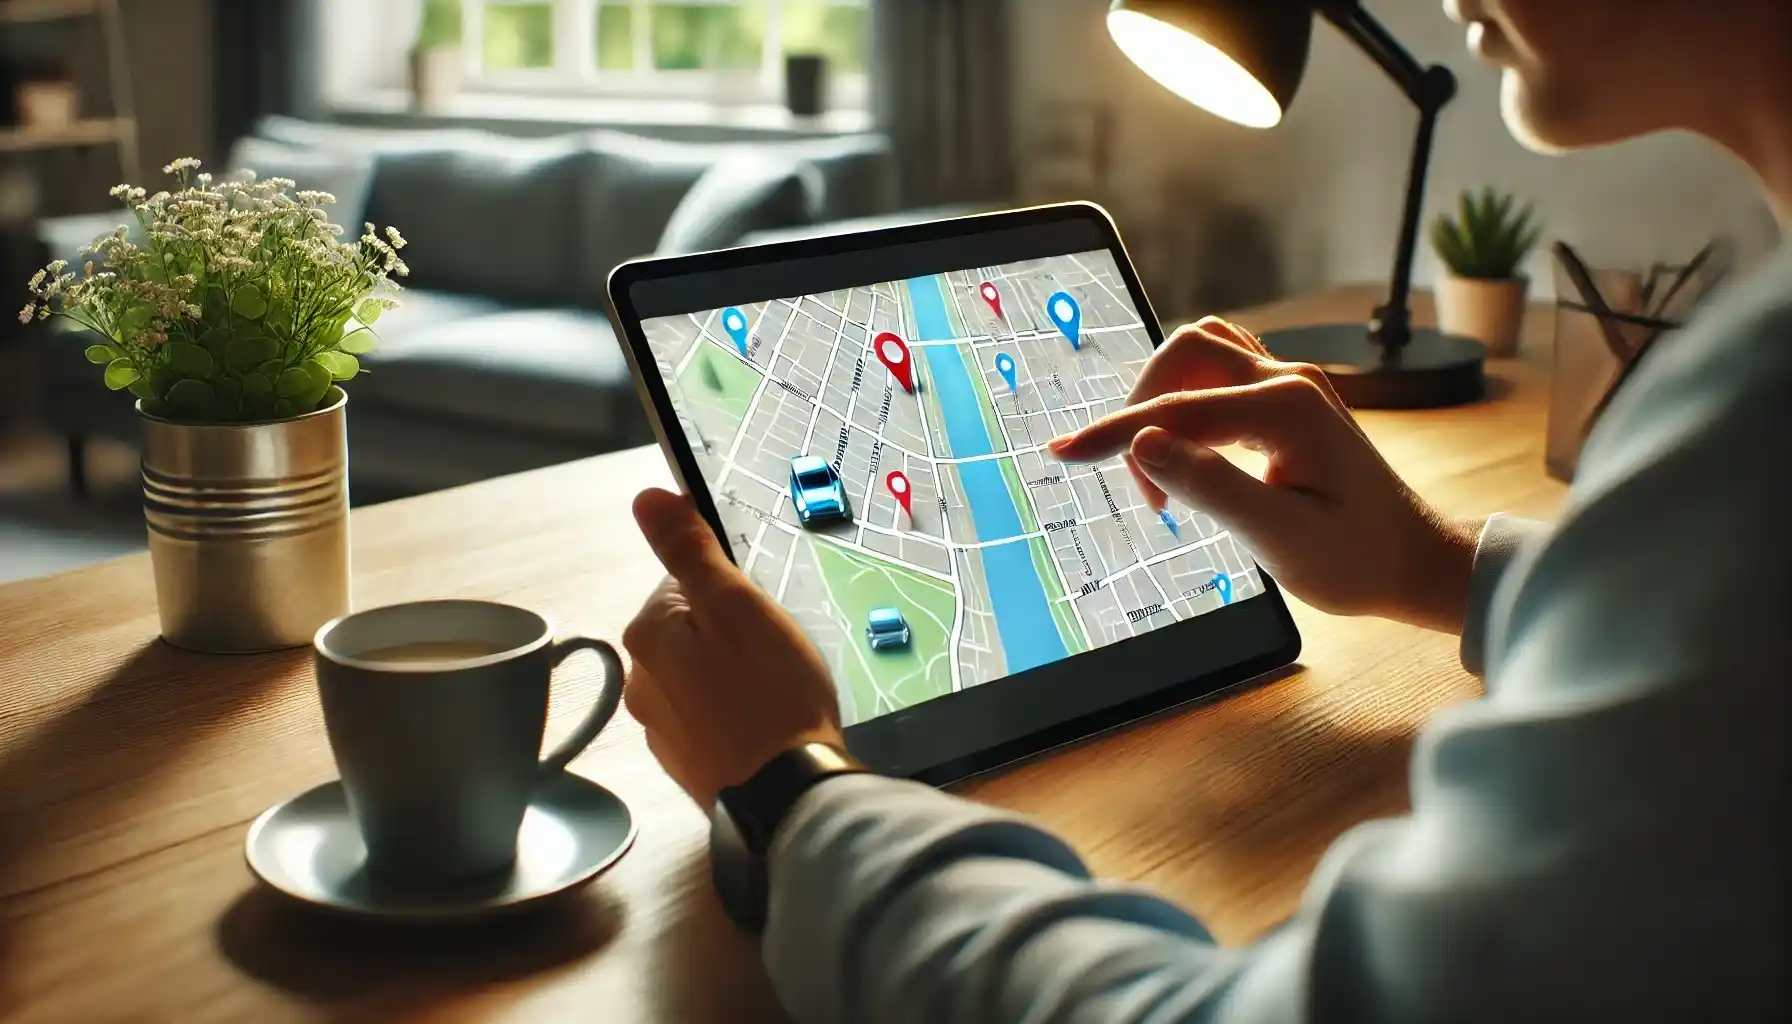
If you have ever used navigation services, delivery services or applications for finding people like apps with gps phone tracker free of charge, you have surely already come across the features and functionality of interactive maps that allow you to determine the location of devices and people. Such functionality is also built into apps that many people love. For example, Number Tracker, the location tracking app for family safety and other purposes, also uses interactive maps to display users' movements in real time.
If you are passionate about similar topics, you may also want to take advantage of interactive maps, but to do so, you need to build them into your website. Many people think that adding a map requires in-depth programming knowledge, but in fact, even a beginner can handle it. So today we will discuss in detail how to add an interactive map to a web page using JavaScript libraries.
Why Leaflet and the Google Maps API? Dealing with Tools
Before you start coding, it is important to understand the best tools to use to create a map. In the web development world, there are two main ways to add a map to a website - Leaflet.js and Google Maps API.
Leaflet.js is a lightweight, open source library and people use it to easily create beautiful maps without complicated customizations. Its main advantages are: free to use (no restrictions); ease of use (loads quickly and does not overload the site); flexibility - you can connect maps from different providers like OpenStreetMap, Esri, Mapbox, etc.). But this library has a disadvantage: less functionality than Google Maps, but for most tasks it is enough.
Google Maps API is a similar tool that provides a lot of features: support for satellite images, panoramic views and 3D maps; the ability to build routes, lay out paths and determine traffic congestion; the ability to reverse geocode - determine the address by coordinates. However, its disadvantage is that it requires an API key to work, and with a large number of requests, the service becomes paid.
The choice of library depends on your tasks. If you need a simple and free map, choose Leaflet.js. If you are developing a complex service with navigation and panoramas - Google Maps API will do. Today we are considering Leaflet.js, as it is simpler and more convenient for beginners.
Creating an Interactive Map with Leaflet: Detailed Recommendations
We already found out above that Leaflet is a lightweight and user-friendly library for working with interactive maps. With its help, you can easily embed a map into a web page, add markers, determine the user's location, and even create routes. So, below you may find and understand how to create a map from scratch, even if you've never worked with mapping before.
Step 1: Connect Leaflet and Create a Basic HTML Page
Before you start creating a map, you need to prepare the HTML page that will display it. In Leaflet, the map is always placed inside the container, and it is important to set this container to a fixed size, otherwise the map will not appear. Besides, we need to connect to the Leaflet library itself to receive all the necessary tools for working with maps. So, we'll create an HTML document with the basic elements: the page title, the container for the map, and links to Leaflet styles and scripts. This will allow us in the next steps to easily add a map and manage its content.
Here's how to do it:
<!DOCTYPE html> <html lang="eng"> <head> <meta charset="UTF-8"> <meta name="viewport" content="width=device-width, initial-scale=1.0"> <title>Interactive map</title> <link rel="stylesheet" href="https://unpkg.com/[email protected]/dist/leaflet.css" /> <style> #map { height: 500px; width: 100%; } </style> </head> <body> <div id="map"></div> <script src="https://unpkg.com/[email protected]/dist/leaflet.js"></script> </body> </html> |
Now we have a blank page with a container for the map. However, the map itself is not displayed yet, because we have not yet added its code. Now we are moving on to customizing it.
Step 2: Create the Map
Now that we have an HTML page with a map container and the Leaflet library plugged in, we can add the map itself. To do this, we will need to write a small piece of JavaScript code. First of all, we need to create a map object, specifying where exactly it should be displayed - to do this, we link the map to the container we prepared earlier. Then it is important to set its initial parameters: choose the coordinates that will become the center of the display and specify the scale that determines the zoom level (this will allow the map to load correctly and show the desired area at once).
We'll add this code to our HTML document, after the <script> tag, so that the map will start working:
<script> var map = L.map('map').setView([55.751244, 37.618423], 10); L.tileLayer('https://{s}.tile.openstreetmap.org/{z}/{x}/{y}.png', { attribution: '© OpenStreetMap' }).addTo(map); </script> |
How it works:
L.map('map') creates a map object inside the div with id map.
.setView([latitude, longitude], scale) to specify center coordinates (Moscow) and zoom level (10).
L.tileLayer(...) connects the map image from the OpenStreetMap server.
Now, if you refresh the page, it will show an interactive map that can be moved and zoomed in.
Step 3: Add Markers and Popups
One of the most useful features of interactive maps is the ability to add markers (marker points). A marker is a small icon that points to some location. For example, you can mark the center of Moscow on the map and display a small description in the form of a pop-up window.
Code example:
var marker = L.marker([55.751244, 37.618423]).addTo(map); marker.bindPopup("This is Moscow!").openPopup(); |
A marker is a great way to highlight important points on a map, such as a company office, a tourist attraction, or even a user's current location. Markers help to make the map more informative and user-friendly.
In addition to the standard marker, which looks like a red dot, you can customize its appearance. For example, change the color, size, or even replace the standard icon with your own - this is especially useful if you want to designate different types of locations with different icons. Try adding a few markers in different locations and experiment with their settings to better understand how they work.
Step 4: Define User Location
If your site involves user interaction (such as a delivery app), you can determine the user's current location and show it on a map.
Leaflet enables you to automatically find the user's location and mark it on the map. This is done using the browser's built-in feature, geolocation. So, let's add some code that checks if the user's browser supports geolocation and if yes, it determines the user's coordinates.
Add the geolocation function:
if ("geolocation" in navigator) { navigator.geolocation.getCurrentPosition(function(position) { var userLat = position.coords.latitude; var userLng = position.coords.longitude; L.marker([userLat, userLng]).addTo(map).bindPopup("You are here!").openPopup(); map.setView([userLat, userLng], 13); }); } else { alert("Your browser does not support geolocation."); } |
When a user opens a page, the browser asks for his location permission. If he agrees, Leaflet gets his coordinates and puts a marker on the map. Here, map.setView() moves the map to the user's location so that the user can immediately see himself on the map. If the browser doesn't support geolocation, the user sees a notification about it.

Step 5: Add Routes
Sometimes you need to not only show points on the map but also connect them with lines. For example, you can draw a route from one point to another, which is useful if you want to show the path between two important locations.
To do this, we use the optional Leaflet Routing Machine plugin, due to which we can easily build routes between points. To start with the plugin, you need to connect it to your document. To do this, add the following lines to the <head> section:
<link rel="stylesheet" href="https://unpkg.com/leaflet-routing-machine/dist/leaflet-routing-machine.css" /> <script src="https://unpkg.com/leaflet-routing-machine/dist/leaflet-routing-machine.js"></script> |
After connecting the plugin, you can add the route itself. In this example we are building a route from the center of Moscow to Red Square:
L.Routing.control({ waypoints: [ L.latLng(55.751244, 37.618423), // Moscow L.latLng(55.7558, 37.6173) // Red Square ] }).addTo(map); |
Here we use the L.Routing.control() function, to which we pass a list of waypoints. Each waypoint is a coordinate between which the route will be drawn. Leaflet will automatically calculate the path and display it on the map.
It is important to note that a route can be more than just a direct connection between two waypoints. If you have several intermediate points, you can add them to the waypoints list and the route will be built with all these points in mind, forming more complex paths. For example, you can create a route that passes through several interesting places in a city to improve navigation for the user.
Your Map - Your World
Implementing an interactive map on a website is a rewarding and fun process that opens up new opportunities for user interaction. Whether you just want to show a location or build complex routes, JavaScript and libraries like Leaflet make these tasks accessible to everyone. So, we hope that due to our tips you will be able to create a map, add information, and make it live and interactive to offer a unique experience for your visitors.